Welcome to the comprehensive guide on understanding cork density and the g/ml mystery. If you've ever wondered about the density of cork or how to measure it, you're in the right place. This guide will provide step-by-step guidance, practical solutions, and real-world examples to help you understand this intriguing topic.
Understanding the Problem: The Mystery of Cork Density
Cork density is a crucial aspect when it comes to understanding the material properties of cork. Density, expressed as grams per milliliter (g/ml), helps determine how compact a material is. For cork, knowing its density is vital for applications ranging from flooring to stoppers for wine bottles. Often, users face challenges due to unclear or inaccurate measurements. This guide aims to address these issues and provide a clear understanding of cork density.
Misinterpretations or incorrect measurements can lead to significant problems, such as poor material selection, increased costs, and wasted resources. By demystifying cork density and providing actionable guidance, this guide will help you make informed decisions.
Quick Reference
- Immediate action item: Measure cork sample with a precision balance and volumetric container for accurate density calculation.
- Essential tip: Use a digital caliper to measure the dimensions of your cork sample for accurate volume calculation.
- Common mistake to avoid: Neglecting to account for surface roughness; ensure a smooth cork surface for precise measurements.
How to Measure Cork Density Accurately
To accurately measure the density of cork, we need to follow a precise procedure. Here’s a detailed step-by-step guide:
Step 1: Obtain a Sample
Begin with a clean, dry sample of cork. The sample should be representative of the material you want to analyze. Ensure there are no contaminants or moisture that could affect the density.
Step 2: Weigh the Sample
Use a precision balance to measure the mass of your cork sample. Make sure the balance is calibrated for accuracy. Record the mass in grams (g).
Step 3: Measure the Volume
To determine the volume, immerse the cork sample in a container filled with water. Use a volumetric container, such as a graduated cylinder or a water displacement method. Here’s how:
- Fill the container with water up to a specific volume mark.
- Carefully place the cork sample in the water.
- Record the new water level.
- Subtract the initial volume from the new volume to get the volume of the cork.
Step 4: Calculate Density
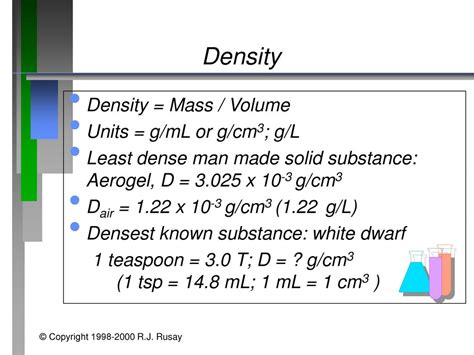
Once you have the mass and volume of the cork sample, use the following formula to calculate the density:
Density (g/ml) = Mass (g) / Volume (ml)
For example, if your cork sample weighs 50 grams and the volume displacement indicates a volume of 50 ml, the density would be:
Density = 50 g / 50 ml = 1 g/ml
This straightforward calculation provides you with the accurate density of your cork sample.
Advanced Techniques for Precise Measurements
For even more precise density measurements, consider these advanced techniques:
Using a Hydrometer:
A hydrometer can provide a quick and effective way to measure cork density. It consists of a calibrated float in a liquid. By placing the cork in water and observing the float’s position, you can derive density values with high accuracy.
Multi-point Measurements:
For increased accuracy, perform multiple measurements at different points along the cork sample. This helps account for any variability within the sample and provides a more reliable average density value.
Microscopy Analysis:
Advanced users can use microscopy to examine the cellular structure of the cork. Understanding the cellular arrangement can offer insights into density variations and help correlate density with other material properties.
Best Practices for Working with Cork Density
To ensure the best outcomes when dealing with cork density, follow these best practices:
- Sample Preparation: Ensure that your cork samples are free from contaminants, moisture, and any surface irregularities. This guarantees that your measurements are not skewed.
- Equipment Calibration: Regularly calibrate your precision balance and volumetric containers to ensure measurement accuracy.
- Control Environmental Factors: Perform measurements in a controlled environment, avoiding temperature and humidity fluctuations that could impact density readings.
Why is cork density important?
Cork density is important because it determines the material's compactness and weight. This property is crucial for various applications, from wine bottle stoppers to cork flooring. Understanding density helps in selecting the right type of cork for specific uses, ensuring optimal performance and longevity.
How does temperature affect cork density measurements?
Temperature changes can affect the expansion or contraction of cork, leading to density variations. To get accurate measurements, it's best to conduct tests in a controlled temperature environment. Ideally, standardize measurements at room temperature (around 20°C or 68°F) to ensure consistency.
Can cork density vary between different sources?
Yes, cork density can vary depending on factors such as the specific cork tree species, growth conditions, and harvesting techniques. It’s important to understand that different cork suppliers may have variations in density, which can impact performance in specific applications.
This guide covers everything you need to know to understand and measure cork density accurately. From quick reference tips to detailed how-to sections, you now have the tools to make informed decisions about cork density in your projects. By following these practical examples and best practices, you can ensure precise measurements and optimal material selection.